How to Secure API Keys Using Next.js Server Components
Reading time: 3 min
We can use to properly secure our API key from exposure in the frontend of our dapp. To further increase our API key security, we can also .
In this cookbook, we will go over how to create a Next.js server component that queries a subgraph while also hiding the API key from the frontend.
- Next.js server components do not protect API keys from being drained using denial of service attacks.
- The Graph Network gateways have denial of service detection and mitigation strategies in place, however using server components may weaken these protections.
- Next.js server components introduce centralization risks as the server can go down.
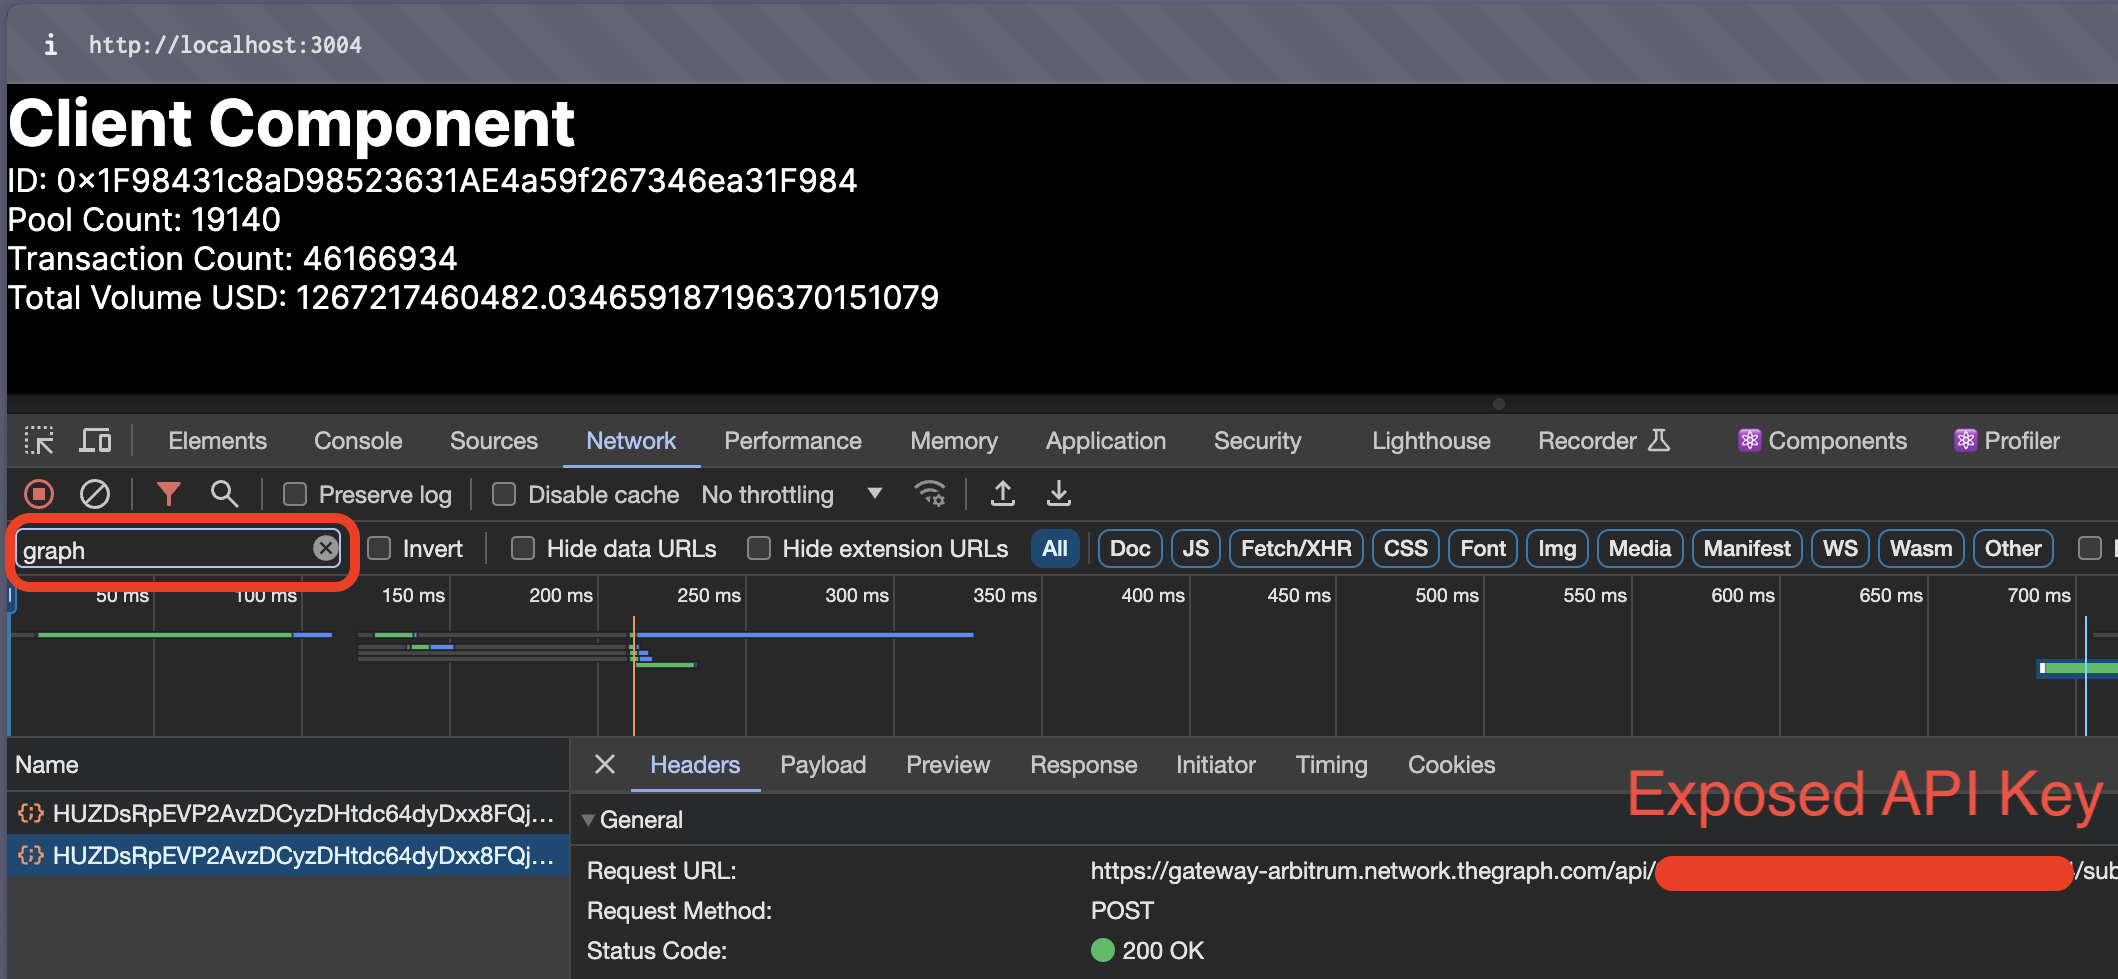
In a standard React application, API keys included in the frontend code can be exposed to the client-side, posing a security risk. While .env files are commonly used, they don't fully protect the keys since React's code is executed on the client side, exposing the API key in the headers. Next.js Server Components address this issue by handling sensitive operations server-side.
- In our Next.js project root, create a
.env.localfile. - Add our API key:
API_KEY=<api_key_here>.
- In our
componentsdirectory, create a new file,ServerComponent.js. - Use the provided example code to set up the server component.
In ServerComponent.js, add the following code:
const API_KEY = process.env.API_KEYexport default async function ServerComponent() {const response = await fetch(`https://gateway-arbitrum.network.thegraph.com/api/${API_KEY}/subgraphs/id/HUZDsRpEVP2AvzDCyzDHtdc64dyDxx8FQjzsmqSg4H3B`,{method: 'POST',headers: {'Content-Type': 'application/json',},body: JSON.stringify({query: /* GraphQL */ `{factories(first: 5) {idpoolCounttxCounttotalVolumeUSD}}`,}),},)const responseData = await response.json()const data = responseData.datareturn (<div><h1>Server Component</h1>{data ? (<ul>{data.factories.map((factory) => (<li key={factory.id}><p>ID: {factory.id}</p><p>Pool Count: {factory.poolCount}</p><p>Transaction Count: {factory.txCount}</p><p>Total Volume USD: {factory.totalVolumeUSD}</p></li>))}</ul>) : (<p>Loading data...</p>)}</div>)}
- In our page file (e.g.,
pages/index.js), importServerComponent. - Render the component:
import ServerComponent from './components/ServerComponent'export default function Home() {return (<main><ServerComponent /></main>)}
Start our Next.js application using npm run dev. Verify that the server component is fetching data without exposing the API key.

By utilizing Next.js Server Components, we've effectively hidden the API key from the client-side, enhancing the security of our application. This method ensures that sensitive operations are handled server-side, away from potential client-side vulnerabilities. Finally, be sure to explore to increase your API key security even further.