3 分
The Graphに移行する
Quickly upgrade your Subgraphs from any platform to The Graph’s decentralized network.
Benefits of Switching to The Graph
- Use the same Subgraph that your apps already use with zero-downtime migration.
- Increase reliability from a global network supported by 100+ Indexers.
- Receive lightning-fast support for Subgraphs 24/7, with an on-call engineering team.
Upgrade Your Subgraph to The Graph in 3 Easy Steps
1. Set Up Your Studio Environment
Create a Subgraph in Subgraph Studio
- Go to Subgraph Studio and connect your wallet.
- Click “Create a Subgraph”. It is recommended to name the Subgraph in Title Case: “Subgraph Name Chain Name”.
Note: After publishing, the Subgraph name will be editable but requires onchain action each time, so name it properly.
Install the Graph CLI
You must have Node.js and a package manager of your choice (npm or pnpm) installed to use the Graph CLI. Check for the most recent CLI version.
On your local machine, run the following command:
Using npm:
1npm install -g @graphprotocol/graph-cli@latestUse the following command to create a Subgraph in Studio using the CLI:
1graph init --product subgraph-studioAuthenticate Your Subgraph
In The Graph CLI, use the auth command seen in Subgraph Studio:
1graph auth <your-auth-code>2. Deploy Your Subgraph to Studio
If you have your source code, you can easily deploy it to Studio. If you don’t have it, here’s a quick way to deploy your Subgraph.
In The Graph CLI, run the following command:
1graph deploy <slug> --ipfs-hash <your-subgraph-ipfs-hash>Note: Every Subgraph has an IPFS hash (Deployment ID), which looks like this: “Qmasdfad…”. To deploy simply use this IPFS hash. You’ll be prompted to enter a version (e.g., v0.0.1).
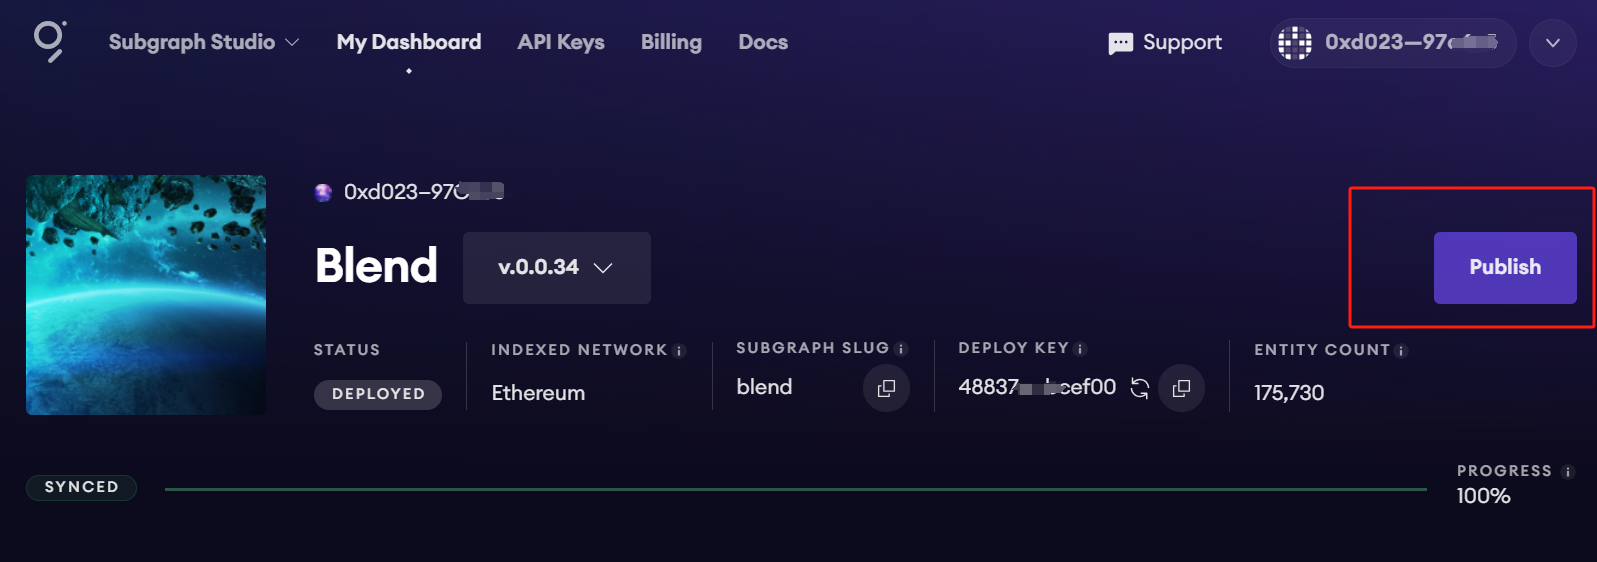
3. Publish Your Subgraph to The Graph Network

Query Your Subgraph
To attract about 3 indexers to query your Subgraph, it’s recommended to curate at least 3,000 GRT. To learn more about curating, check out Curating on The Graph.
You can start querying any Subgraph by sending a GraphQL query into the Subgraph’s query URL endpoint, which is located at the top of its Explorer page in Subgraph Studio.
例
CryptoPunks Ethereum Subgraph by Messari:

The query URL for this Subgraph is:
1https://gateway-arbitrum.network.thegraph.com/api/`**your-own-api-key**`/subgraphs/id/HdVdERFUe8h61vm2fDyycgxjsde5PbB832NHgJfZNqKNow, you simply need to fill in your own API Key to start sending GraphQL queries to this endpoint.
Getting your own API Key
You can create API Keys in Subgraph Studio under the “API Keys” menu at the top of the page:

Monitor Subgraph Status
Once you upgrade, you can access and manage your Subgraphs in Subgraph Studio and explore all Subgraphs in The Graph Explorer.
その他のリソース
- To quickly create and publish a new Subgraph, check out the Quick Start.
- To explore all the ways you can optimize and customize your Subgraph for a better performance, read more about creating a Subgraph here.