4 minutes
Quick Start
Create, deploy, and query a Subgraph on The Graph Network.
By the end, you’ll have:
- Initialized a Subgraph from a smart contract
- Deployed it to Subgraph Studio for testing
- Published to The Graph Network for decentralized indexing
Prerequisites
- A crypto wallet
- A deployed smart contract on a supported network
- Node.js & a package manager of your choice (
npm,yarnorpnpm)
How to Build a Subgraph
1. Create a Subgraph in Subgraph Studio
- Go to Subgraph Studio
- Connect your wallet
- Click “Create a Subgraph”
- Name it in Title Case: “Subgraph Name Chain Name”
2. Install the Graph CLI
On your local machine, run one of the following commands:
Using npm:
npm install -g @graphprotocol/graph-cli@latestUsing yarn:
yarn global add @graphprotocol/graph-cliVerify install:
graph --version3. Initialize your Subgraph
You can find commands for your specific Subgraph in Subgraph Studio.
The following command initializes your Subgraph from an existing contract and indexes events:
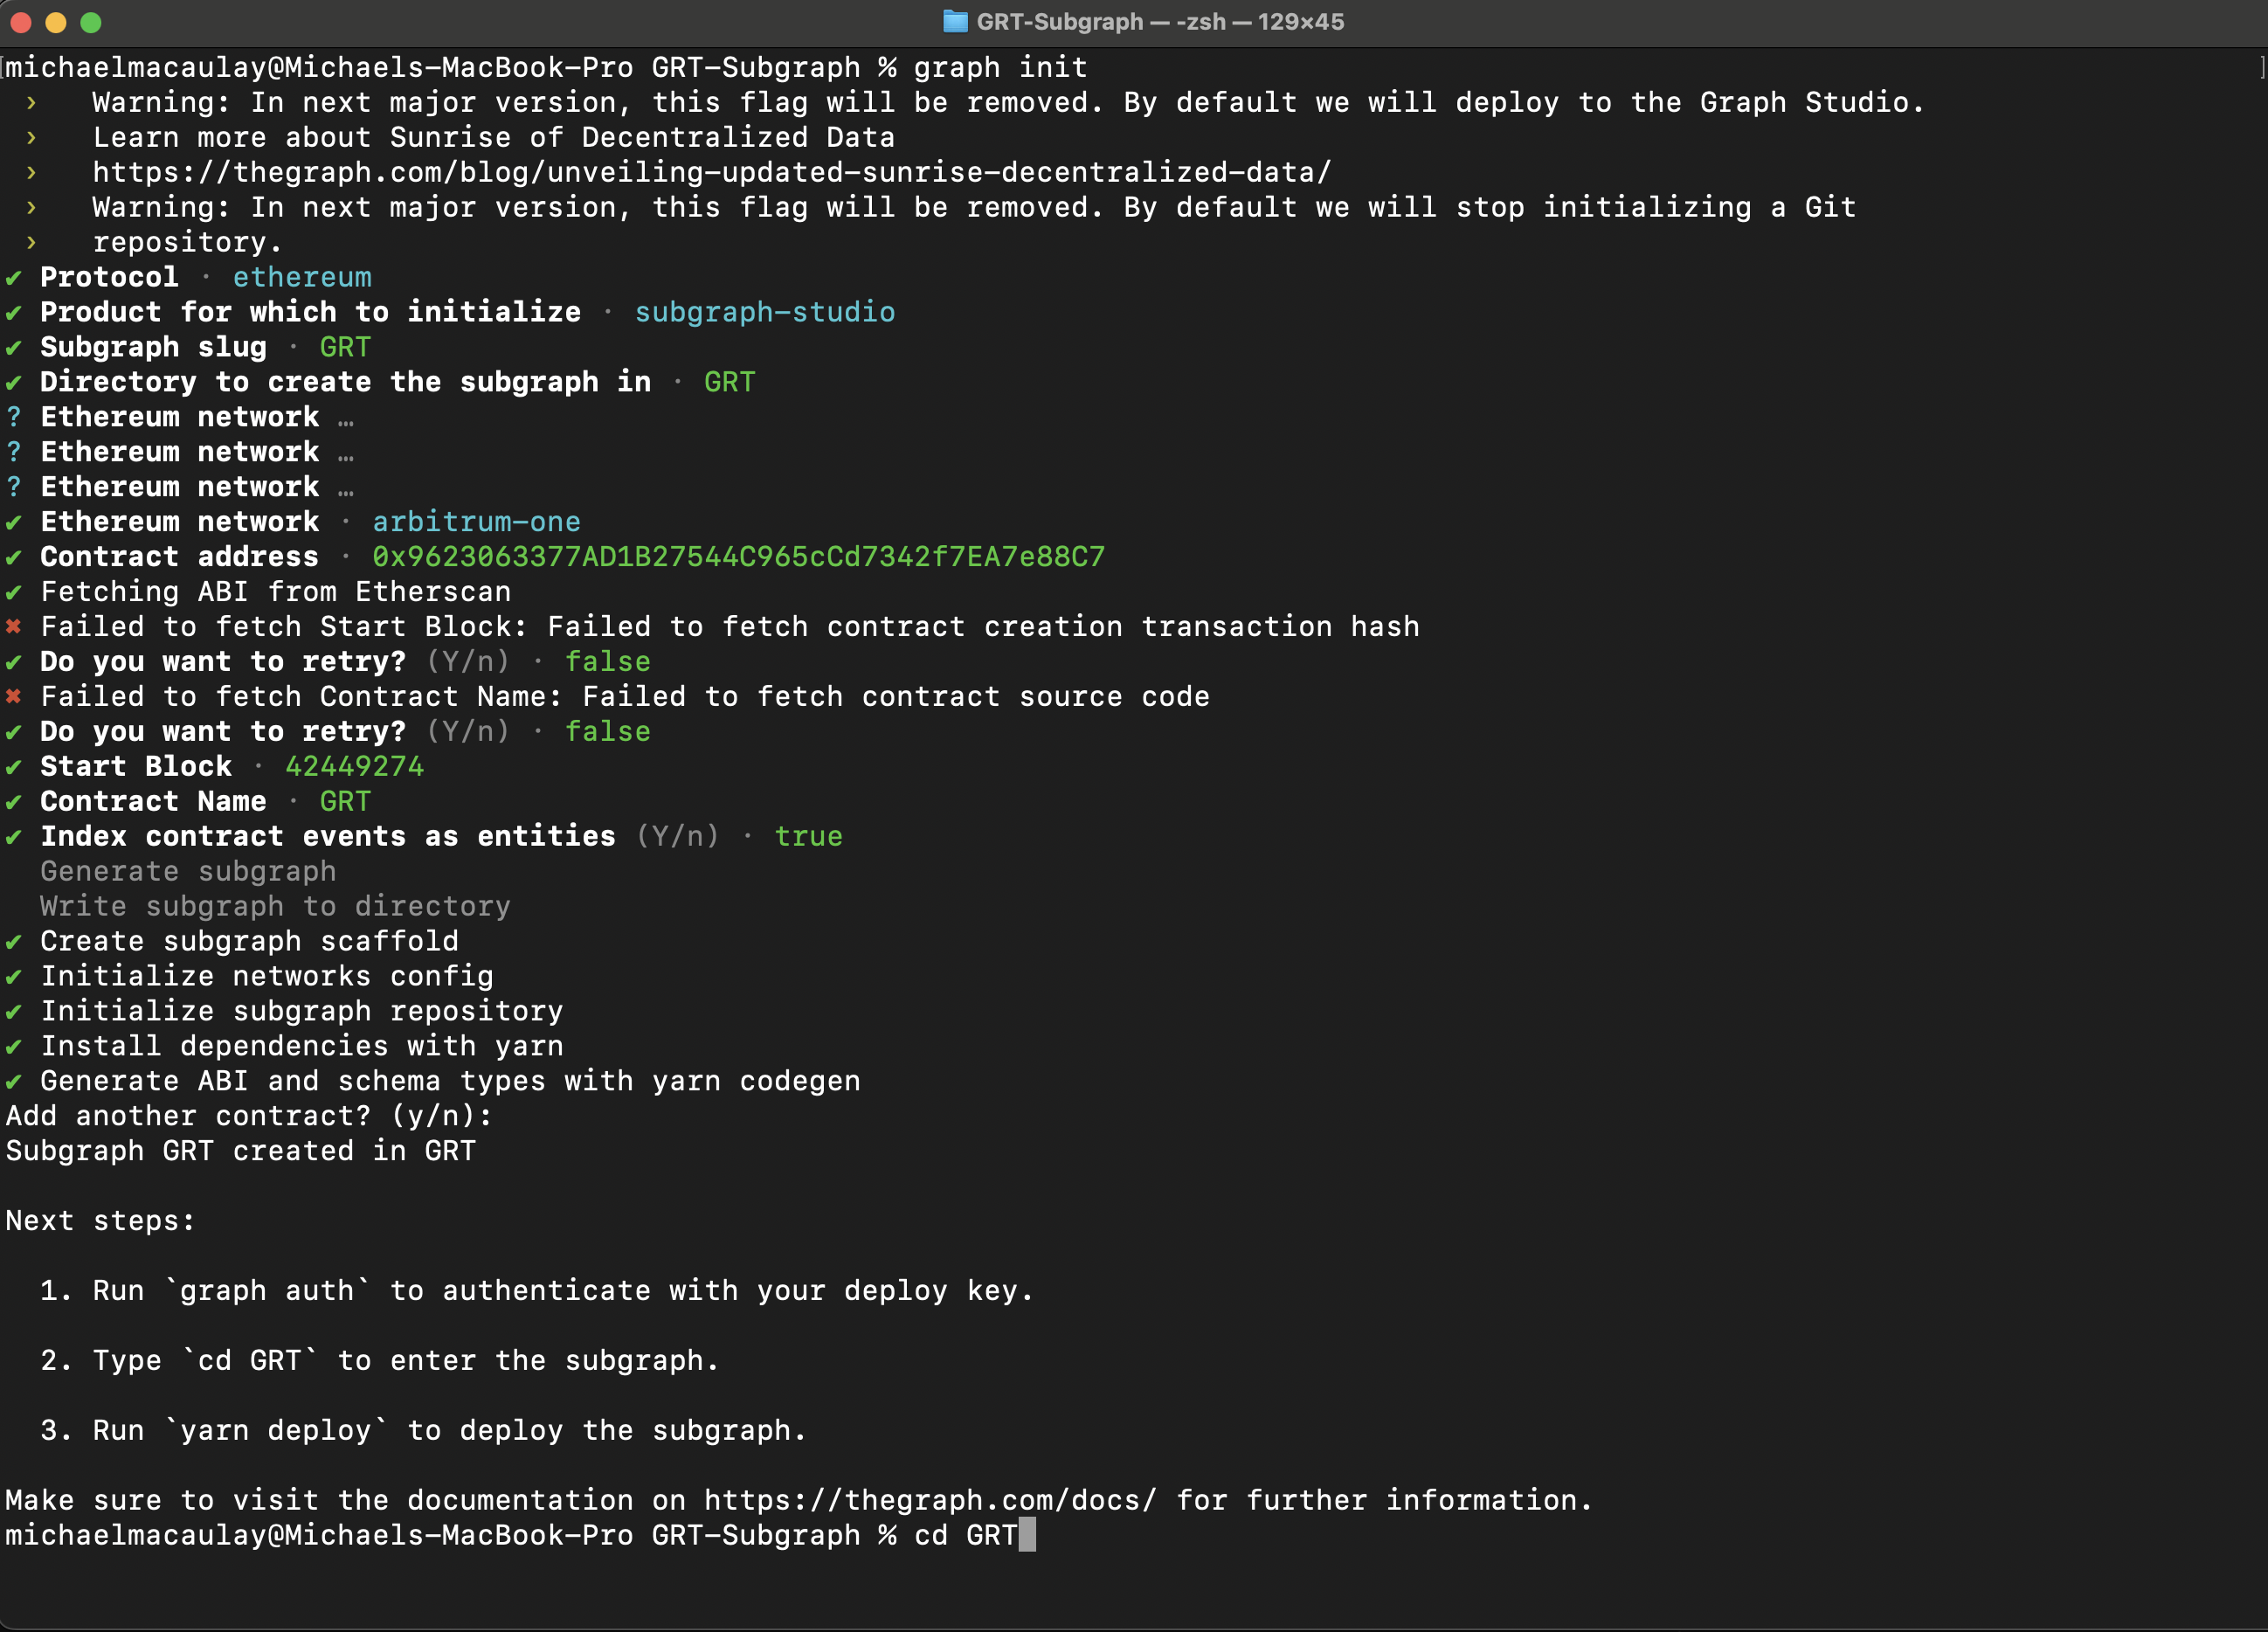
graph initWhen you initialize your Subgraph, the CLI will ask you for the following information:
- Protocol: Choose the protocol your Subgraph will be indexing data from.
- Subgraph slug: Create a name for your Subgraph. Your Subgraph slug is an identifier for your Subgraph.
- Directory: Choose a directory to create your Subgraph in.
- Ethereum network (optional): You may need to specify which EVM-compatible network your Subgraph will be indexing data from.
- Contract address: Locate the smart contract address you’d like to query data from.
- ABI: If the ABI is not auto-populated, you will need to input it manually as a JSON file.
- Start Block: You should input the start block where the contract was deployed to optimize Subgraph indexing of blockchain data.
- Contract Name: Input the name of your contract.
- Index contract events as entities: It is suggested that you set this to true, as it will automatically add mappings to your Subgraph for every emitted event.
- Add another contract (optional): You can add another contract.
See the following screenshot for an example of what to expect when initializing your Subgraph:
4. Edit your Subgraph
When making changes to the Subgraph, you will mainly work with three files:
- Manifest (
subgraph.yaml) - defines what data sources your Subgraph will index. - Schema (
schema.graphql) - defines what data you wish to retrieve from the Subgraph. - AssemblyScript Mappings (
mapping.ts) - translates data from your data sources to the entities defined in the schema.
For a detailed breakdown on how to write your Subgraph, check out Creating a Subgraph.
5. Deploy your Subgraph
When you deploy a Subgraph, you push it to Subgraph Studio, where you can test, stage and review it. A deployed Subgraph’s indexing is performed by the Upgrade Indexer, which is a single Indexer owned and operated by Edge & Node. A deployed Subgraph is free to use, rate-limited, not visible to the public, and meant to be used for development, staging, and testing purposes.
Once your Subgraph is written, run the following commands:
graph codegen && graph buildAuthenticate and deploy your Subgraph. The deploy key can be found on the Subgraph’s page in Subgraph Studio.
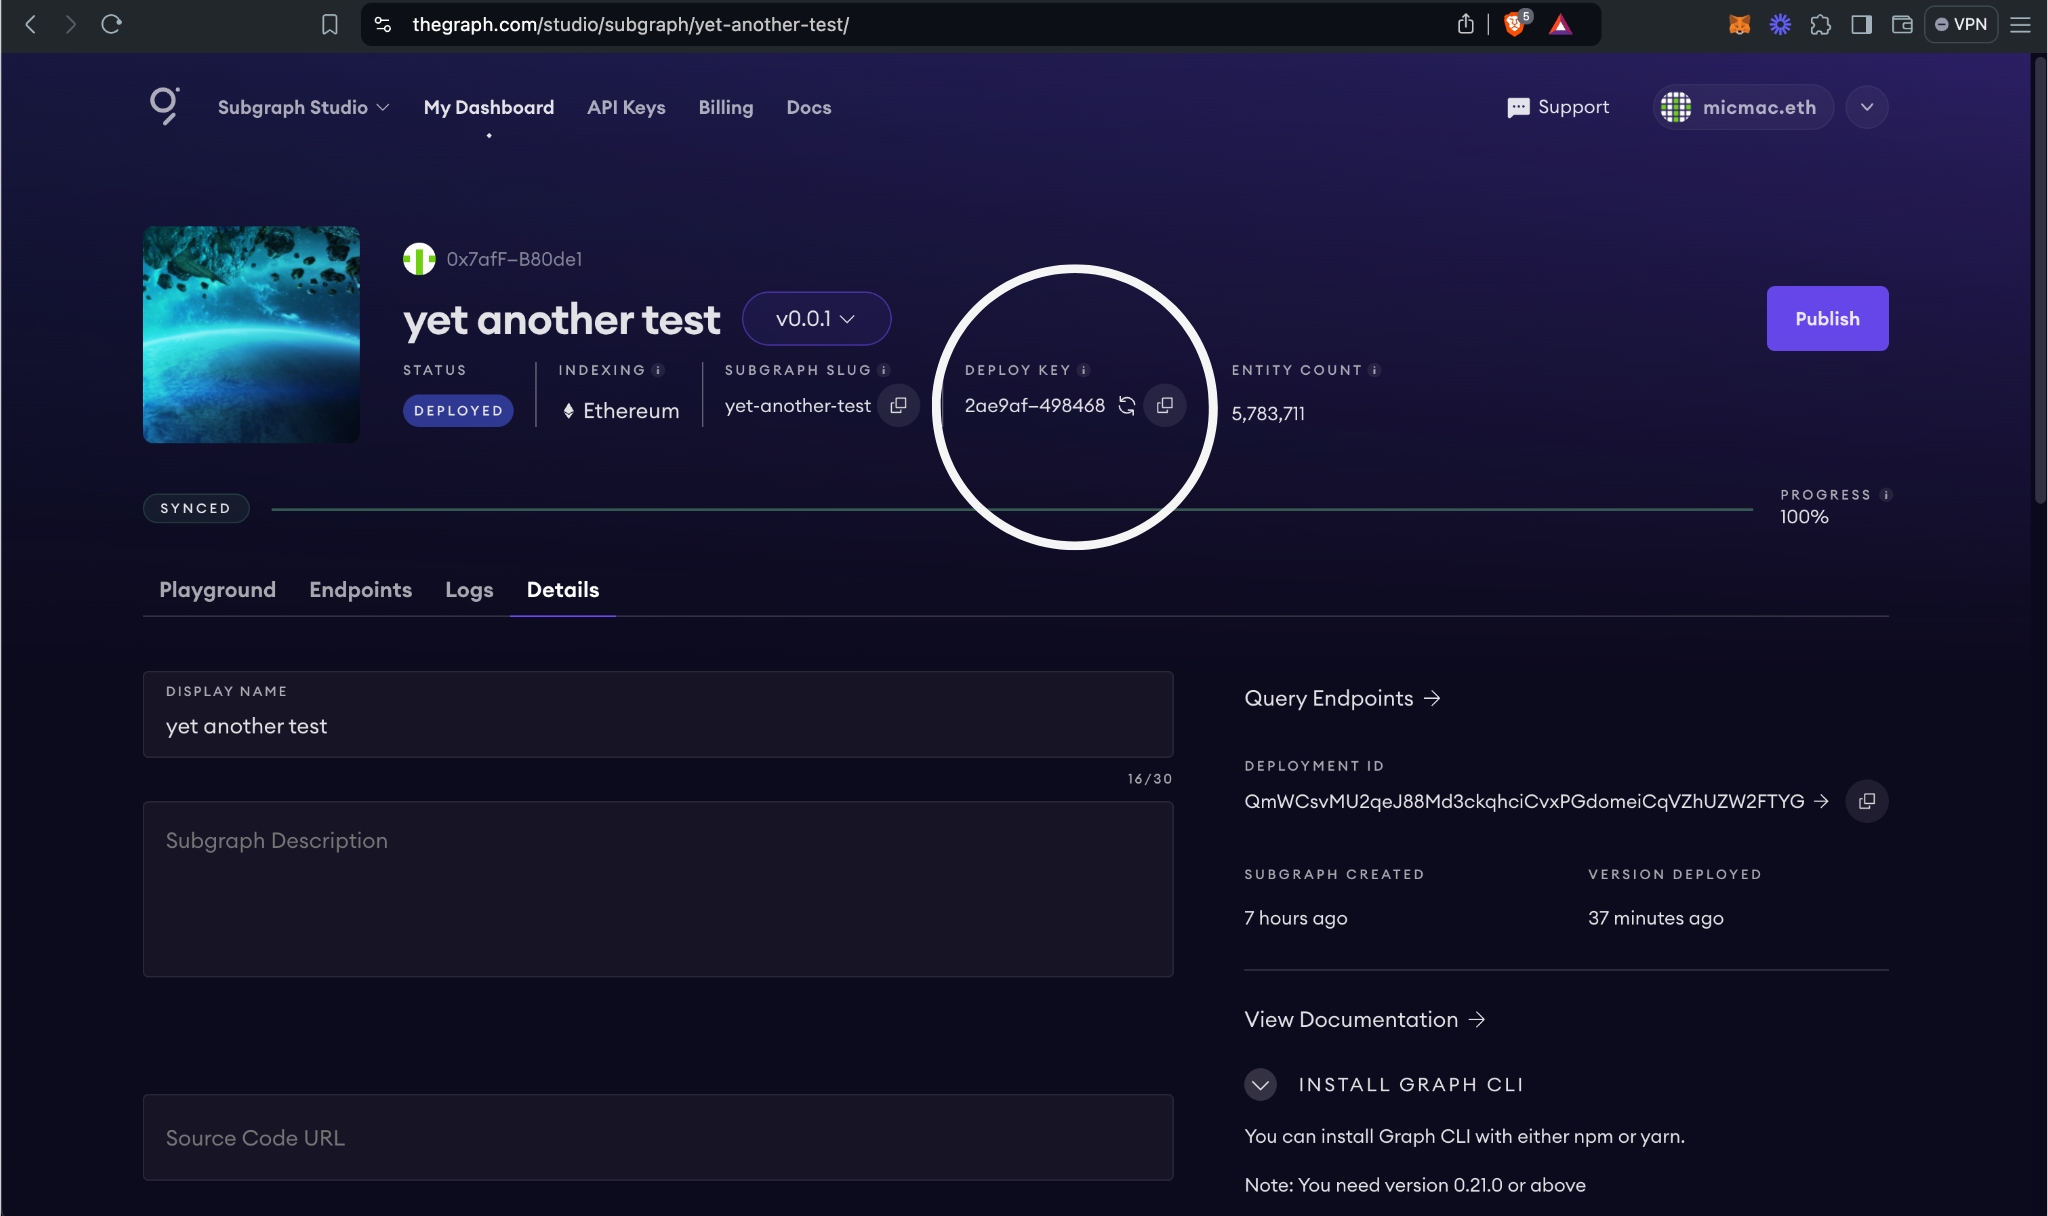
graph auth <DEPLOY_KEY>graph deploy <SUBGRAPH_SLUG>6. Review your Subgraph
If you’d like to test your Subgraph before publishing it, you can use Subgraph Studio to do the following:
-
Run a sample query.
-
Analyze your Subgraph in the dashboard to check information.
-
Check the logs on the dashboard to see if there are any errors with your Subgraph. The logs of an operational Subgraph will look like this:
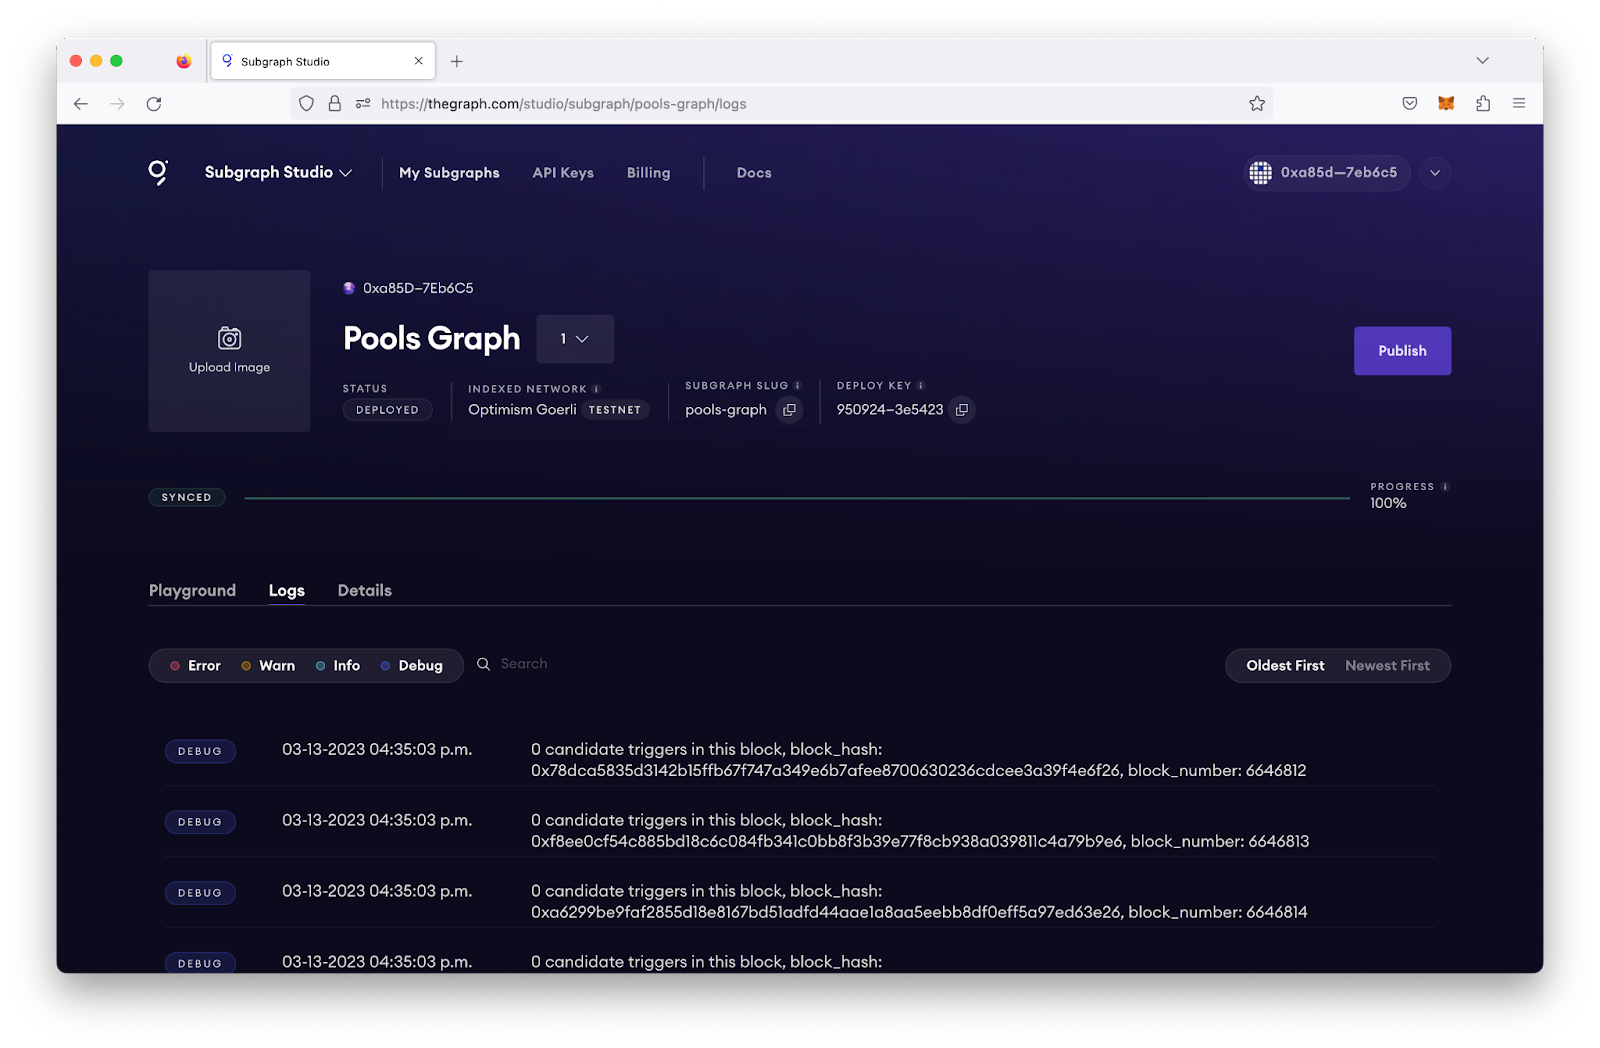
Subgraph logs
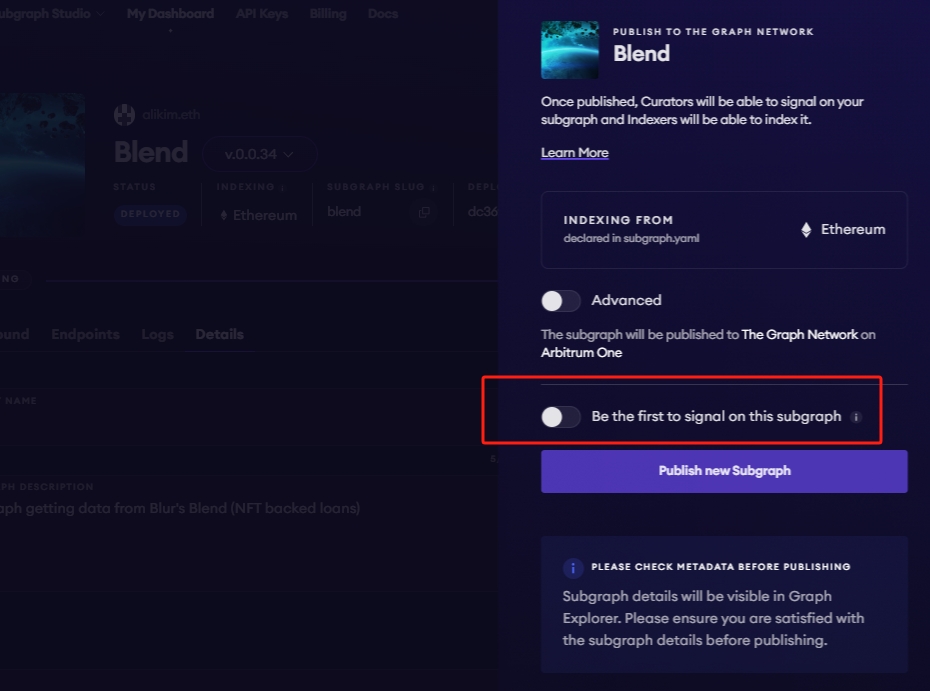
7. Publish your Subgraph to The Graph Network
When your Subgraph is ready for a production environment, you can publish it to the decentralized network. Publishing is an onchain action that does the following:
- It makes your Subgraph available to be to indexed by the decentralized Indexers on The Graph Network.
- It removes rate limits and makes your Subgraph publicly searchable and queryable in Graph Explorer.
- It makes your Subgraph available for Curators to add curation signal.
To publish your Subgraph, click the Publish button in the dashboard and select your network.
It is recommended that you curate your own Subgraph with at least 3,000 GRT to incentivize indexing.
To save on gas costs, you can curate your Subgraph in the same transaction you publish it by selecting this option:
8. Query your Subgraph
You now have access to 100,000 free queries per month with your Subgraph on The Graph Network!
You can query your Subgraph by sending GraphQL queries to its Query URL, which you can find by clicking the Query button.
For more information about querying data from your Subgraph, read Querying The Graph.